Understand your foundation
Updated March 2023
This is the second article in a two-part series about mapping content to customer journeys. If you haven’t yet read part one on the foundational elements of mapping content to customer journeys, please take a moment to have a quick read.
Now that we understand what we’re doing and why, it’s time to finally start mapping our content to our customer journeys.
Step 1: Gather research and brainstorm
First, gather existing user or customer research and see what you already know about the content needs that people have at different journey stages. If the research doesn’t specify stage, make an educated guess as to when the content would be most useful or interesting.
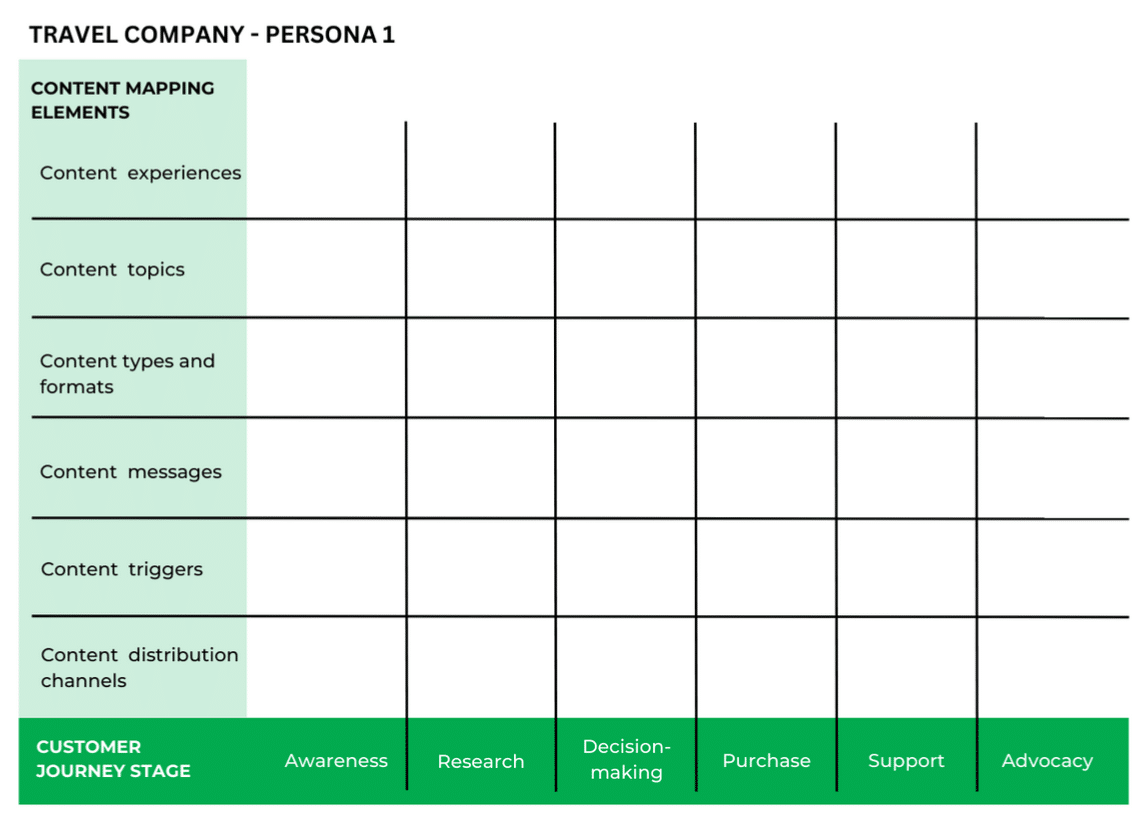
Then, bring out the stickies or whiteboard markers! Work through each persona, one at a time. Put your journey stages along one axis, and content mapping elements along the other. Remember from the last article, content elements can be content:
- Experiences
- Topics
- Types & formats
- Messages
- Triggers
- Distribution channels
Use one sticky note for each insight and place them in the appropriate square in your journey stage/content element grid. When you’ve exhausted the research, see what blanks remain.
Ideally, you could go and conduct more research. In reality, you’ll probably need to fill in the gaps through brainstorming and educated guesses. This is usually more effective and fun if you can collaborate with your team members.
When you’re done, you should have a clear idea of what the persona would value for each of the content elements for each stage.
Now it’s time to assess.
Step 2: Assess ideas
If you’ve generated a lot of ideas in your brainstorming session, you’ll need to weed some out. Have specific criteria that you apply to each idea to see if it’s worth keeping.
For example, is it a priority for the user? Do you have the right skill-sets and resources to execute the ideas? Does it align with the core business strategy?
Step 3: Early designs
Once you have your final set of insights or recommendations, document it in a way that’s easy to share with your stakeholder team. You can use Excel or a table in MS Word, or anything else that will help to share your ideas.
The point is to communicate them so that team members and stakeholders can provide feedback and approval before you spend too much time or effort in developing them further.
Step 4: Conceptual designs
Once you have final approvals on the content elements to focus on for each persona and each journey stage, it’s time to circulate them with the larger team.
This is when you can get more visual and engaging, and find creative ways to visually show how the content elements map to different journey stages. These visuals can be used to educate and inspire design and content teams throughout the development stages.
Step 5: Content requirements
This is what it’s all about!
What insights can you translate into content requirements? Aside from providing an over-arching vision of a user-journey approach to content, each of the content elements can inform specific requirements:
- Content experience insights can help to inform or support the larger customer experience strategy.
- Content topics that you’ve identified can feed into the information architecture design.
- Content types will provide definition for page and template design, and formats will help to identify required skill sets and resources.
- Content messaging insights can be the basis of a messaging architecture that writers use to ensure they’re conveying the right message at the right time.
- Content triggers will feed into your call-to-action strategy, and provide insights into phrasing that will help improve conversions.
- Content distribution channel insights will help to inform or support the larger cross-channel strategy.
So, whether you’re currently part of a content, user experience, digital, or marketing team, give this approach a try. We’ve found it to be a great way to bring cross-functional teams together.

